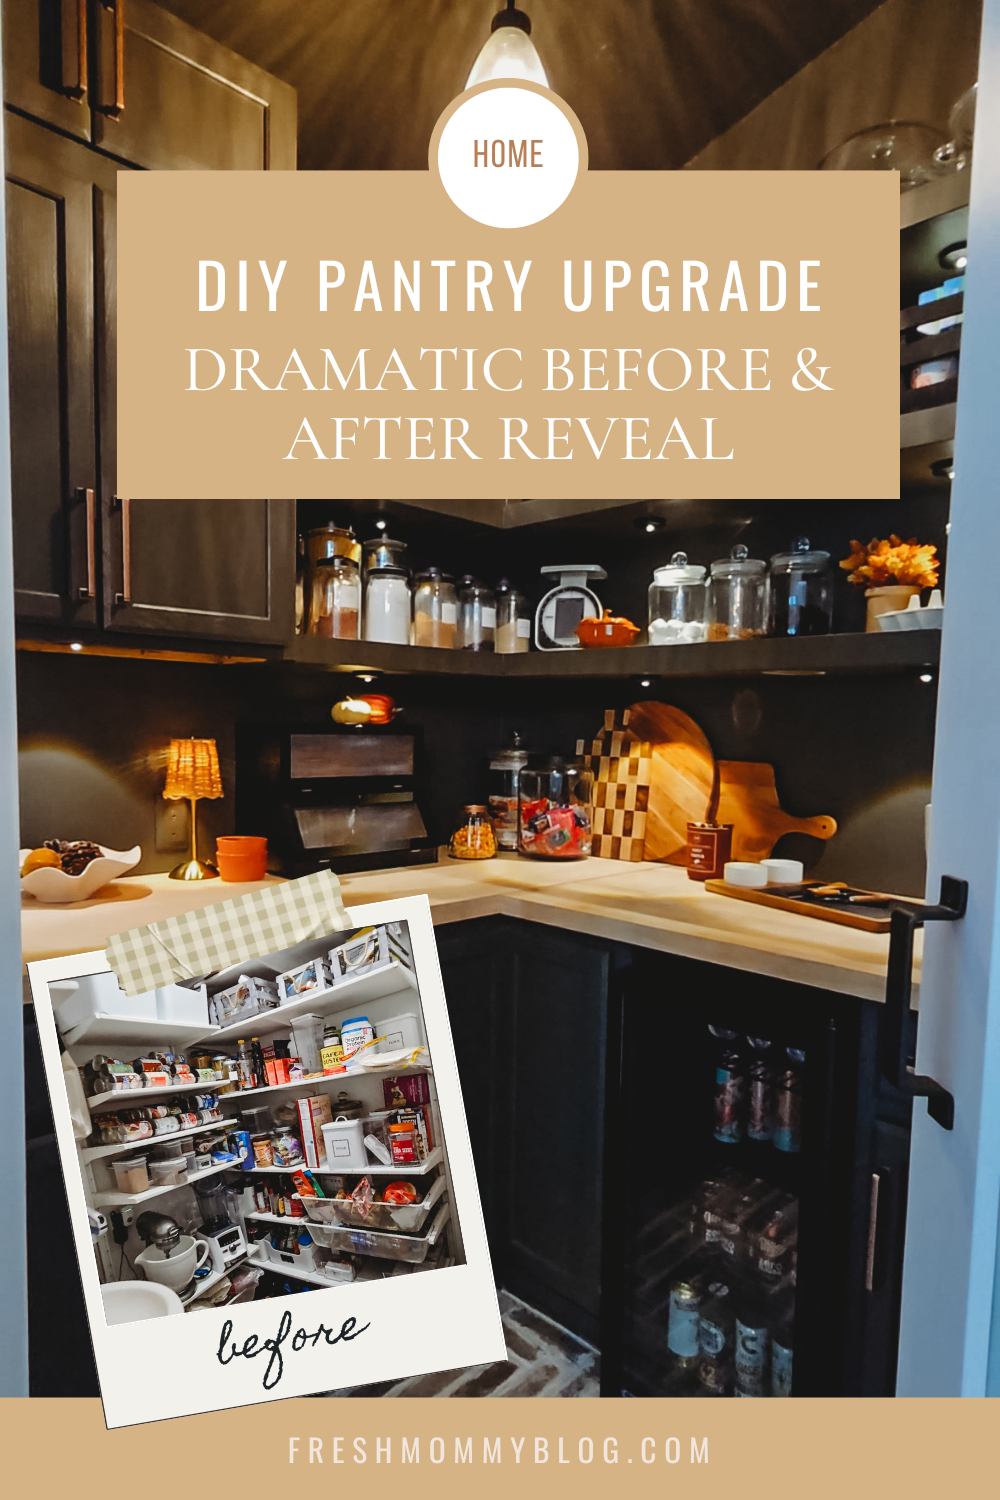
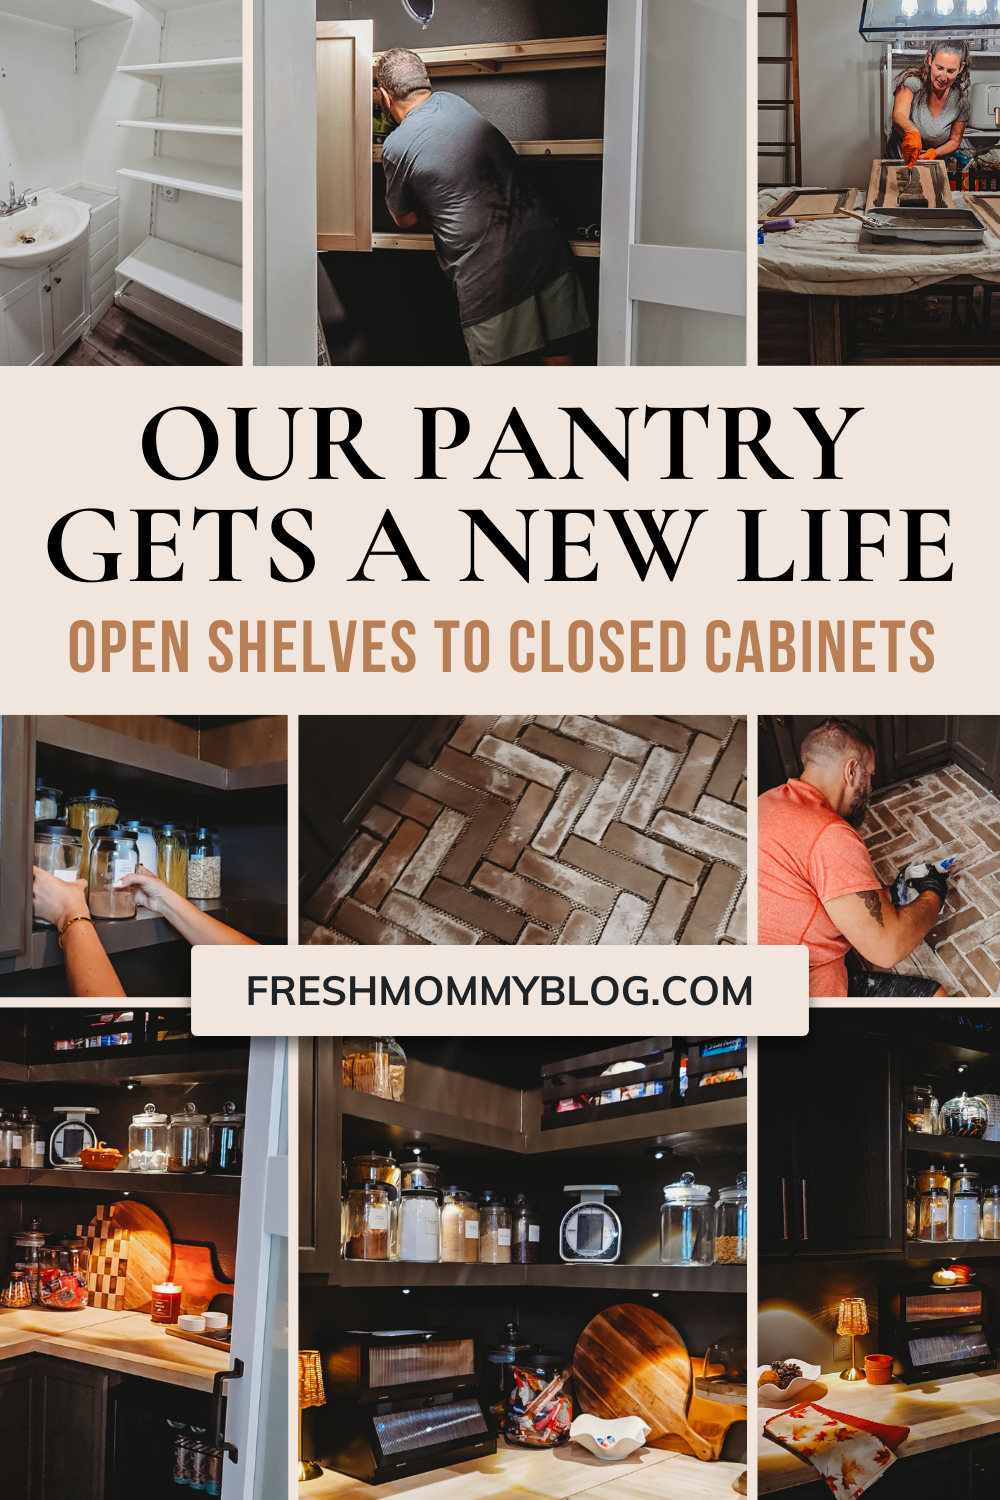
I can’t believe I’m writing this… but we renovated our pantry. Again.
And before you think I’m crazy (which, let’s be honest, might be a fair assessment when it comes to home projects), let me explain! You might remember when we first transformed our laundry room into a walk-in pantry back in 2018. That project was one of my absolute favorites, we installed beautiful open shelving, organized everything with labeled bins and glass canisters, and it served our family of six SO well for years.
But here’s the thing about living with a space: your needs evolve. What worked perfectly in 2018 didn’t necessarily fit our lifestyle anymore in 2025. And while I loved the look of those open shelves and all our pretty jars on display, I found myself craving something different, more closed storage, a cleaner look, and honestly? A more finished space that felt less like a functional room and more like an extension of our home.
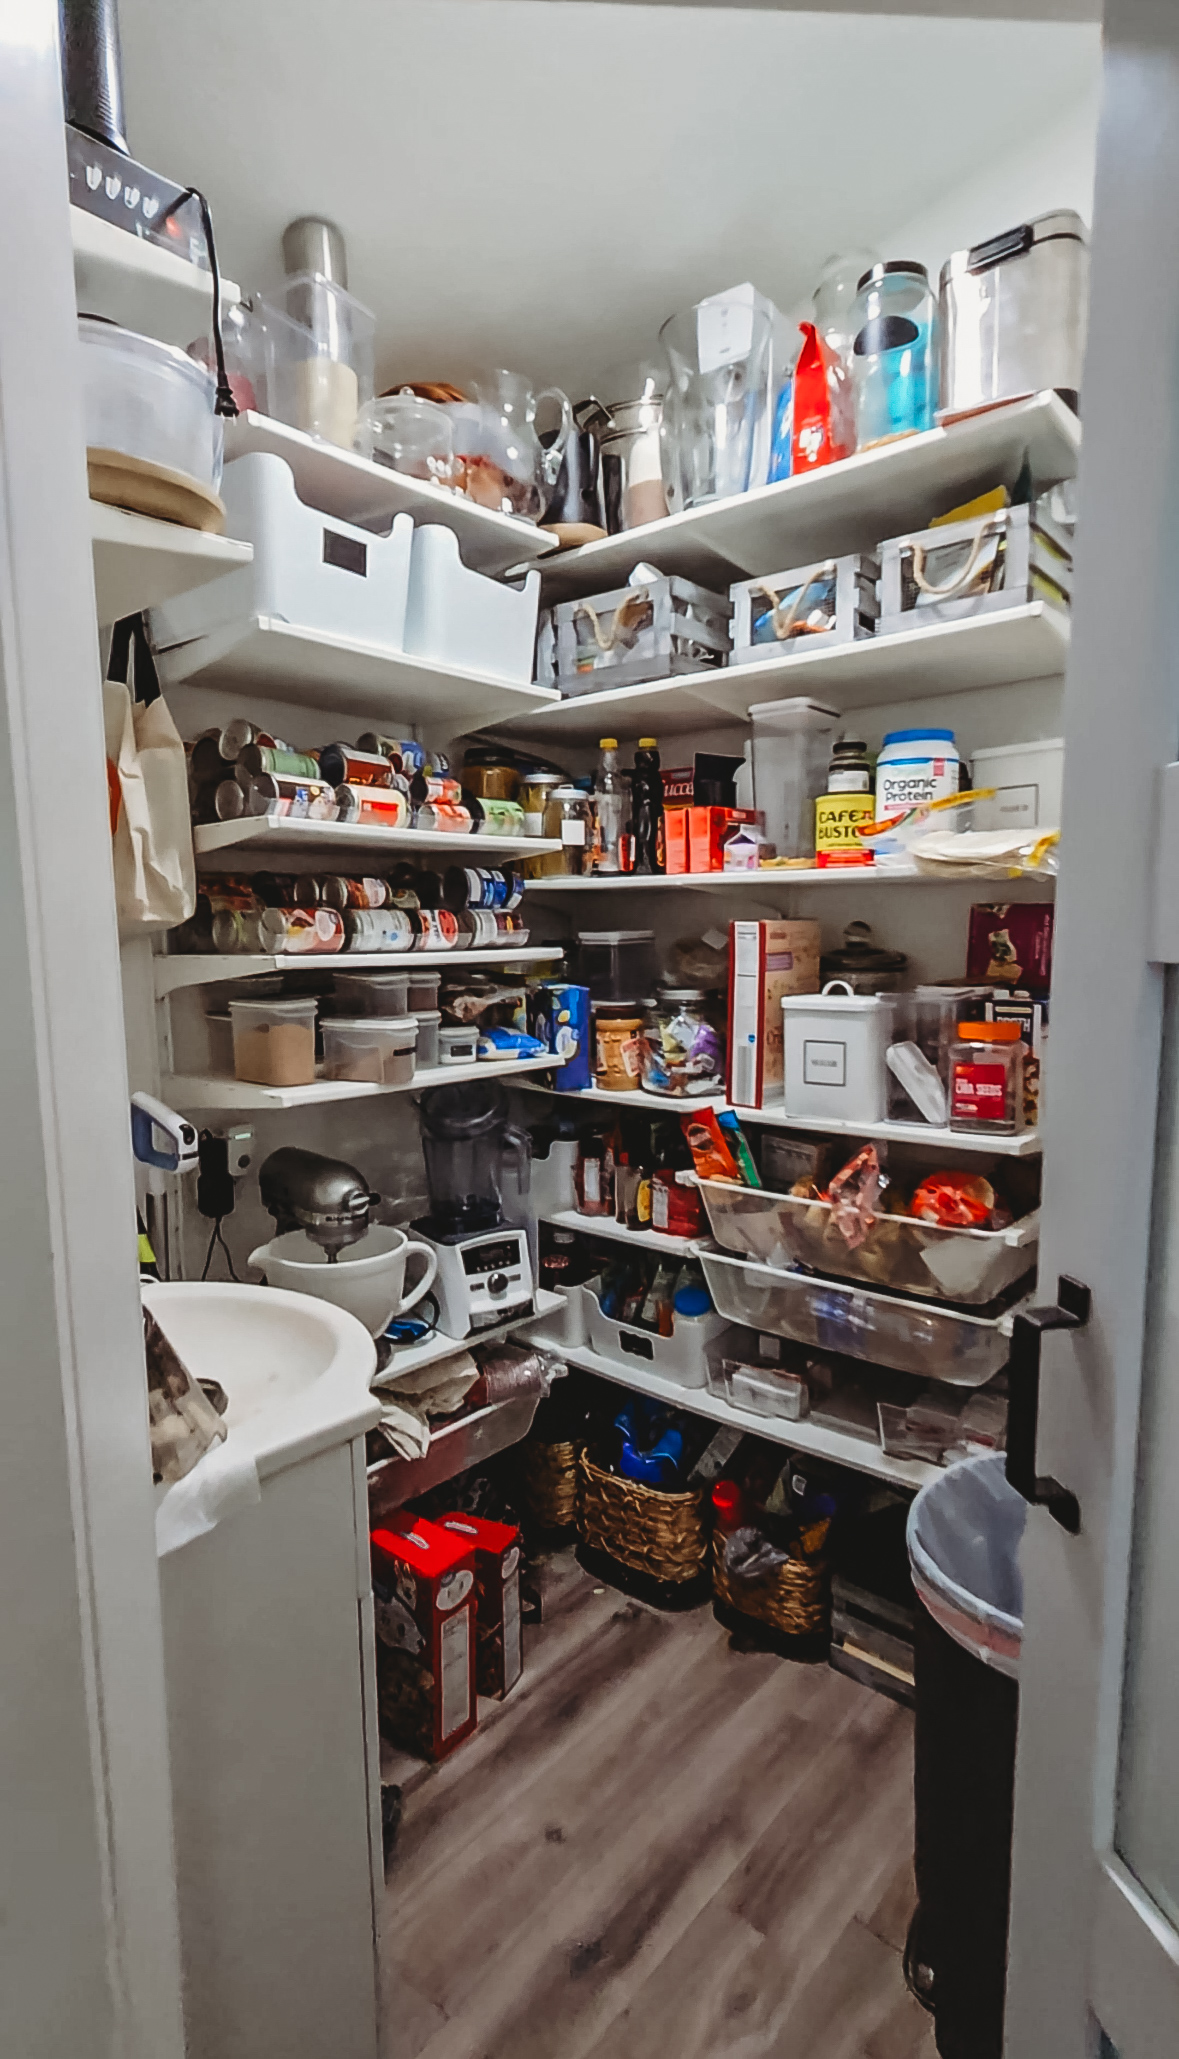
Table of Contents
Why We Decided to Renovate (Again!)
Living with our original pantry renovation taught us so much. The open shelving was beautiful and Instagram-worthy, sure. But it also meant that every single thing was on display all the time. And while I kept up with it pretty well (I might be a little type A), there was always that nagging feeling that I needed to keep it picture-perfect.
I started dreaming about:
- Lower cabinets to hide all those not-so-pretty items
- A beverage fridge (game changer, y’all)
- Some upper cabinets for closed storage
- And still keeping some open shelving for the items I actually wanted to display
- Plus, can we talk about how amazing a rustic paver floor would be?
The final straw? We discovered some issues behind the scenes, a bit of mold and some plumbing that needed attention. So if we were going to gut it anyway to fix those problems, we might as well make it exactly what we wanted, right?
The Renovation Process: Round Two
Let me be real with you: gutting a space you already renovated once feels a little bittersweet. You’re tearing out a lot of previous work, where you spent a good amount of time and money. But once we committed to the vision, we dove in headfirst.
Here’s how it all went down:
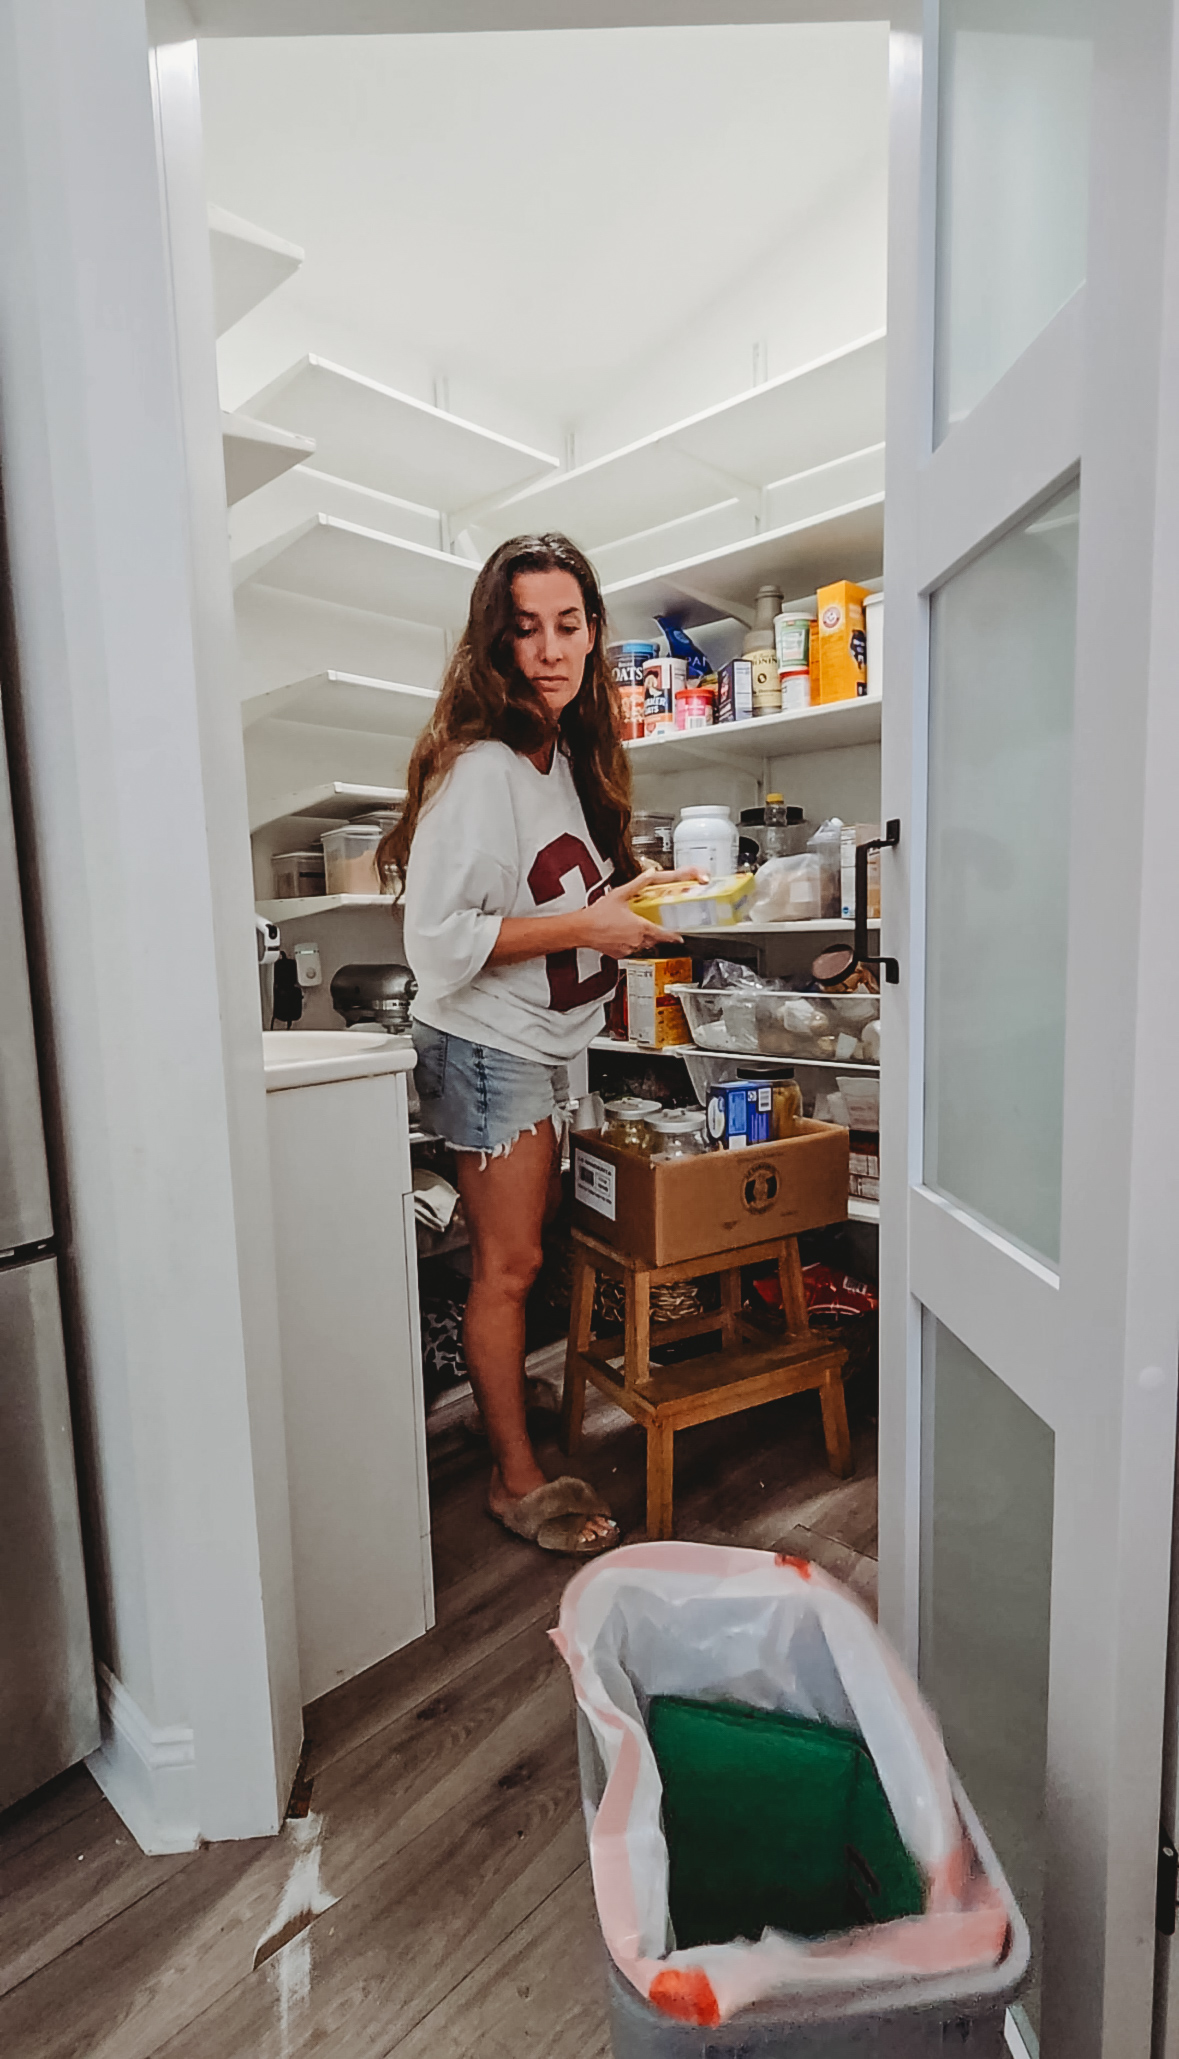
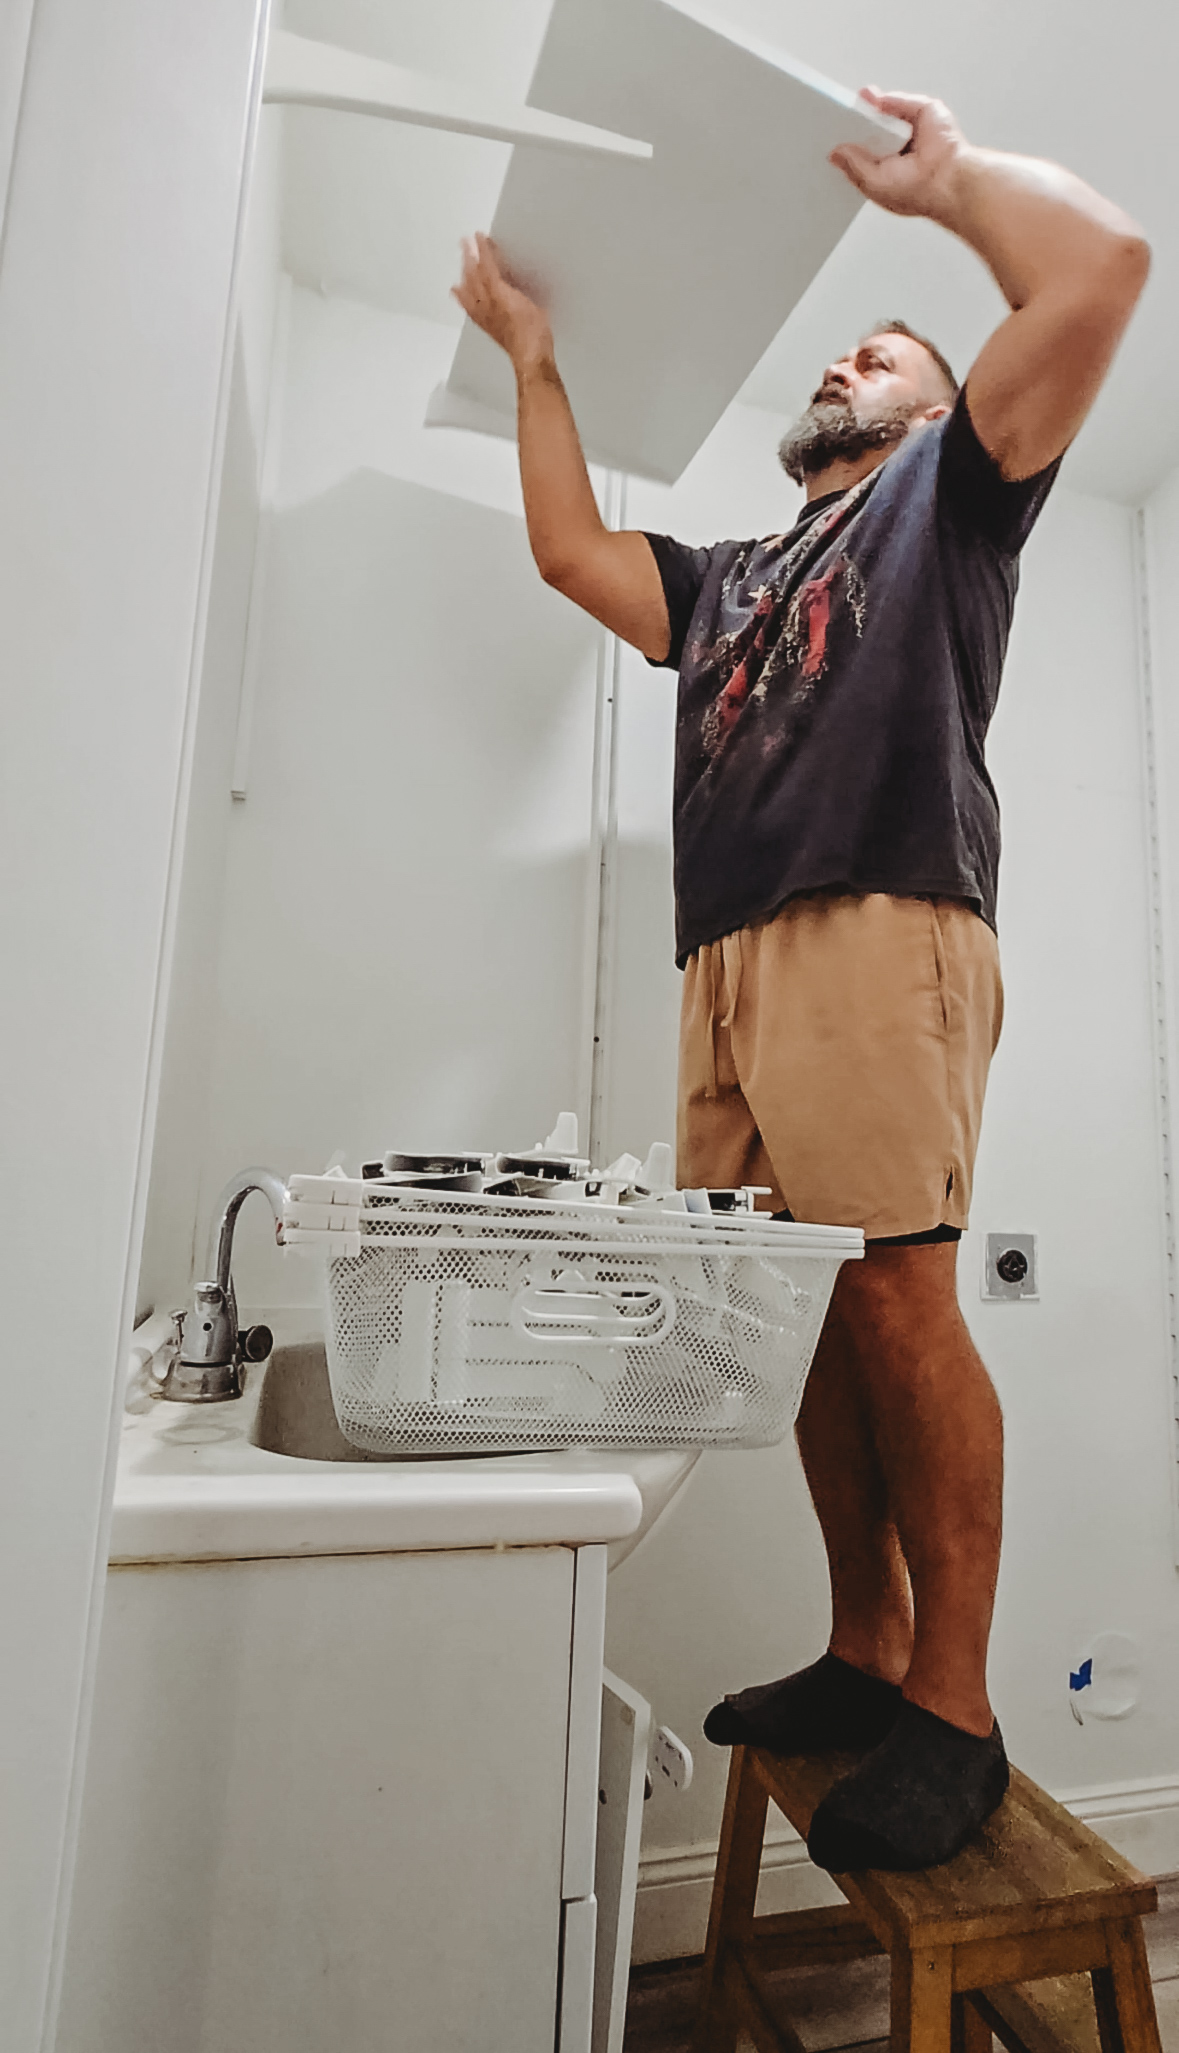
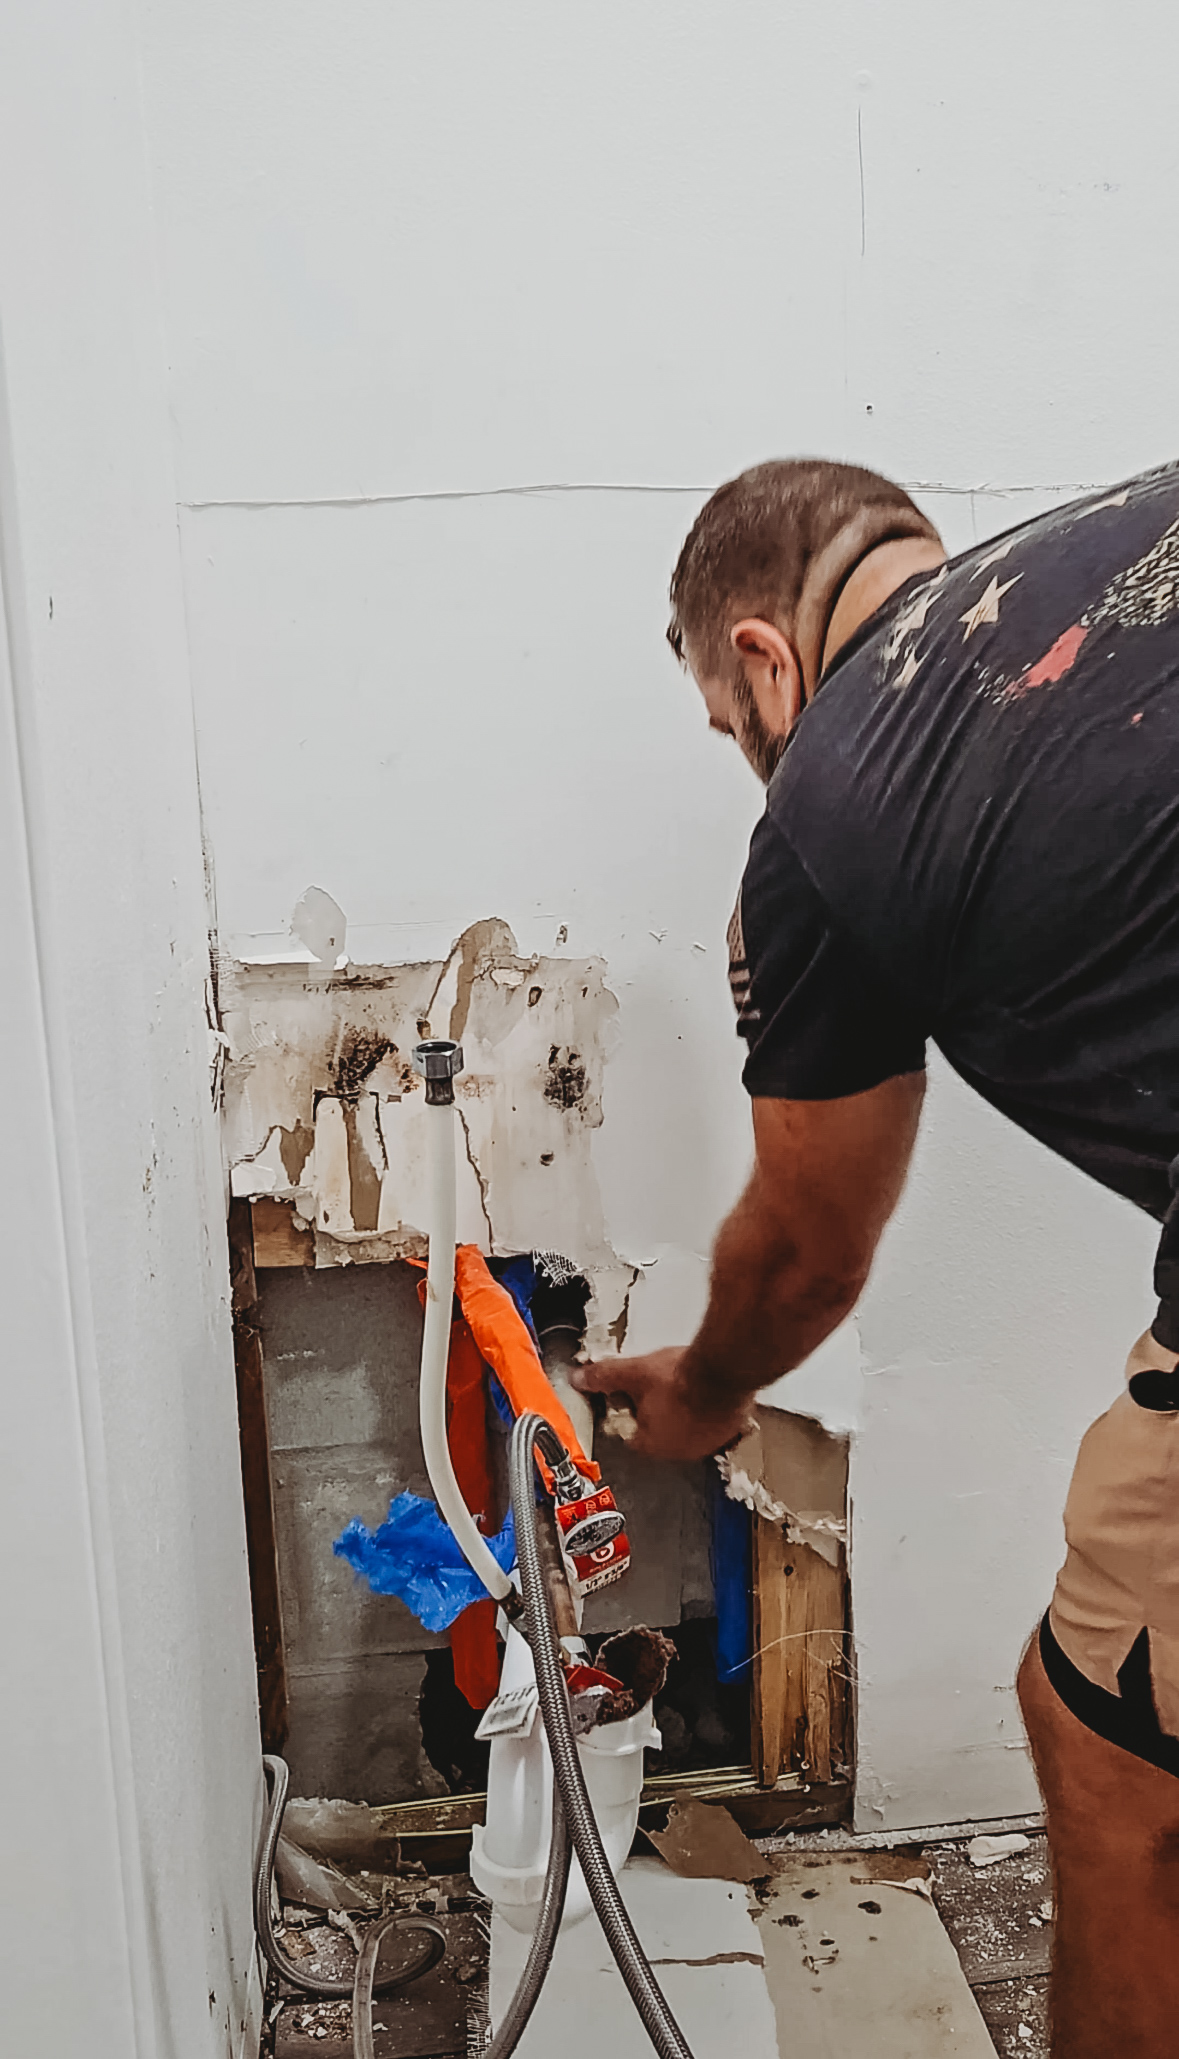
Step 1: The Big Gut
Out came all the old shelving, and we stripped the space down to the studs. This is when we discovered some issues that honestly, I’m glad we found now rather than later. There was some plumbing that needed fixing and a bit of mold that we were able to remediate properly. Not glamorous, but so important!
Step 2: Fresh Canvas
Once everything was fixed and treated, we painted the walls. There’s something so satisfying about a fresh coat of paint, isn’t there? It’s like the space takes a deep breath and gets ready for its transformation.
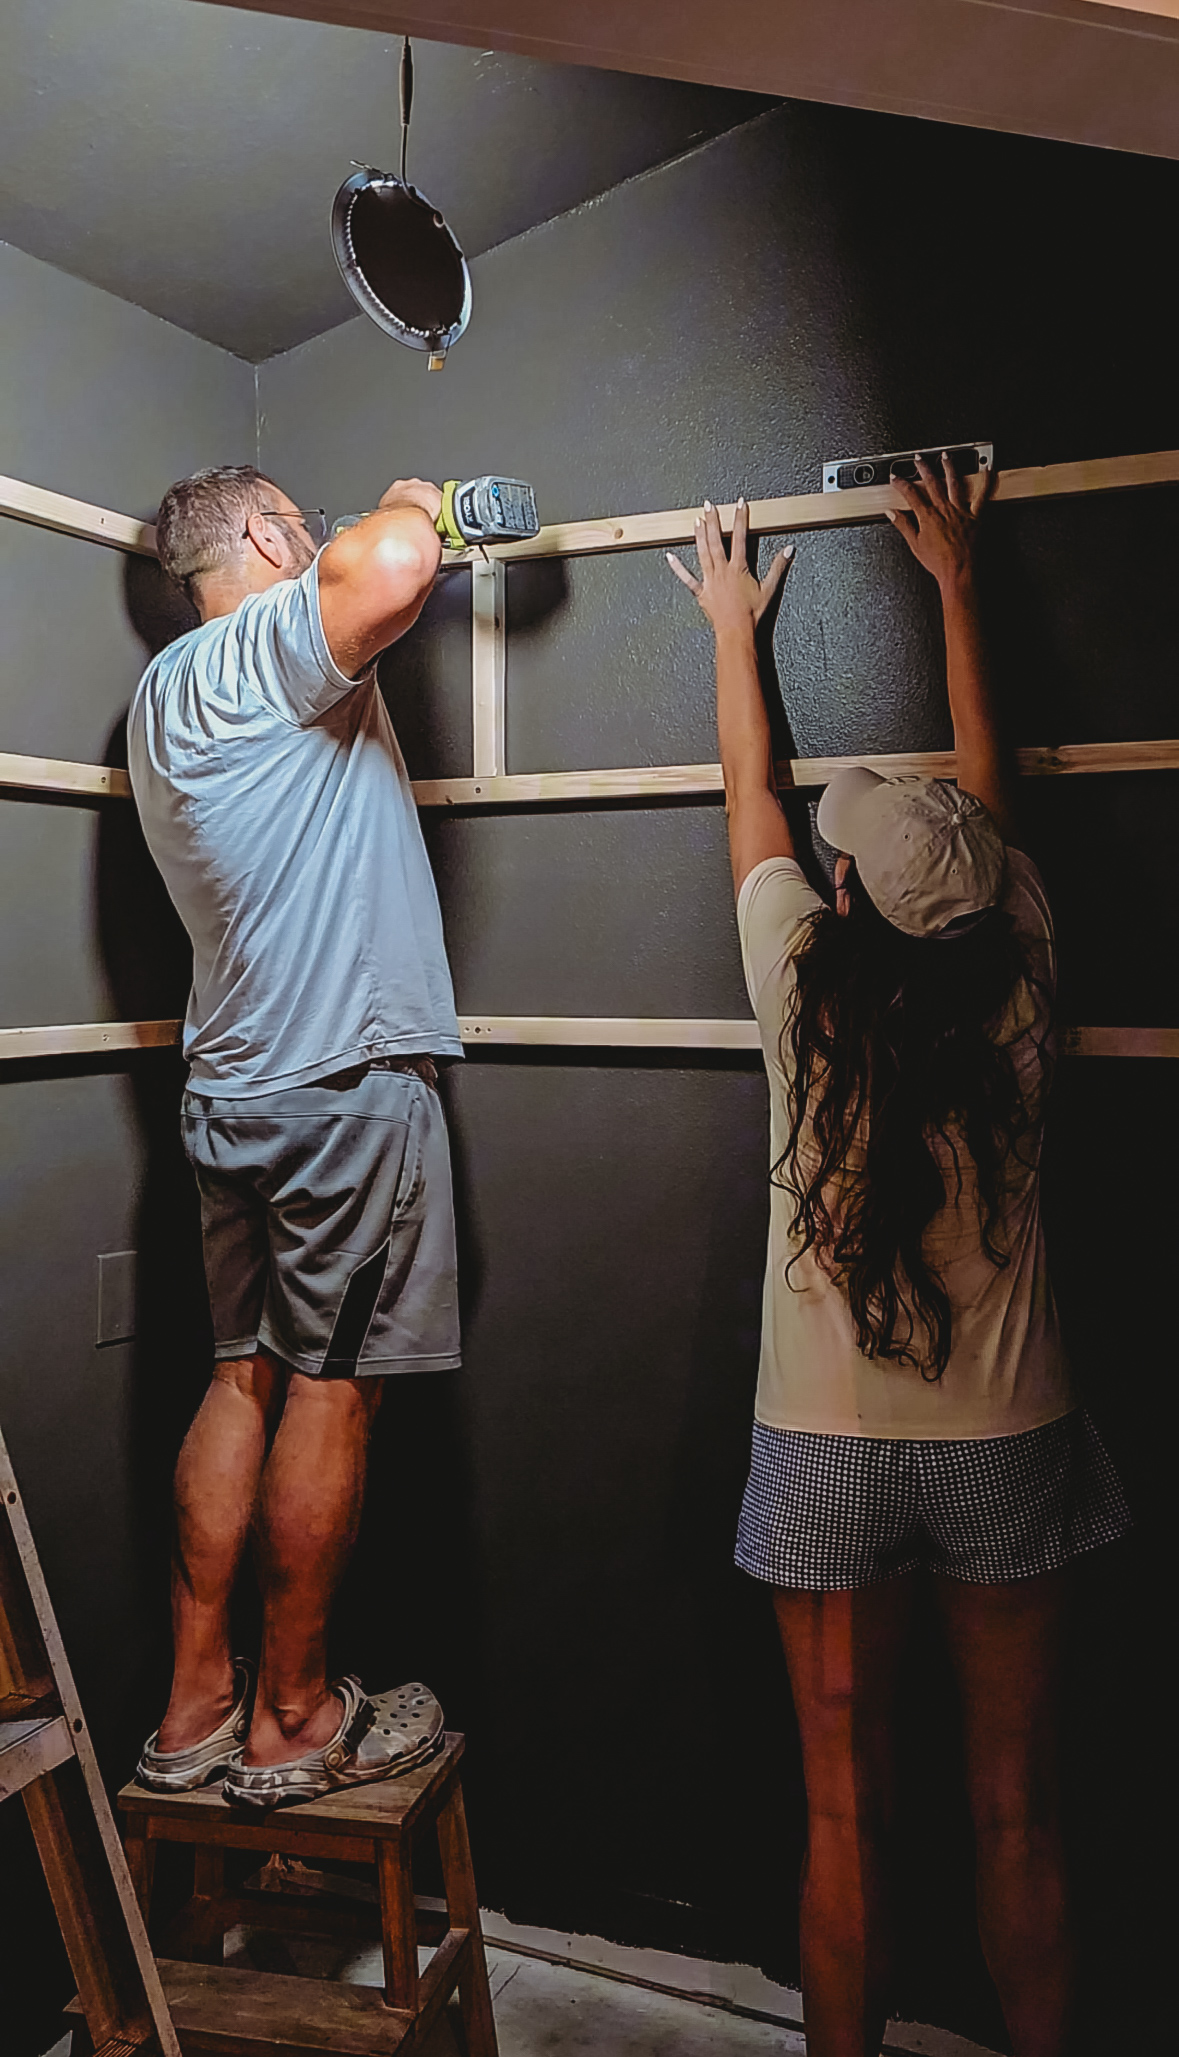
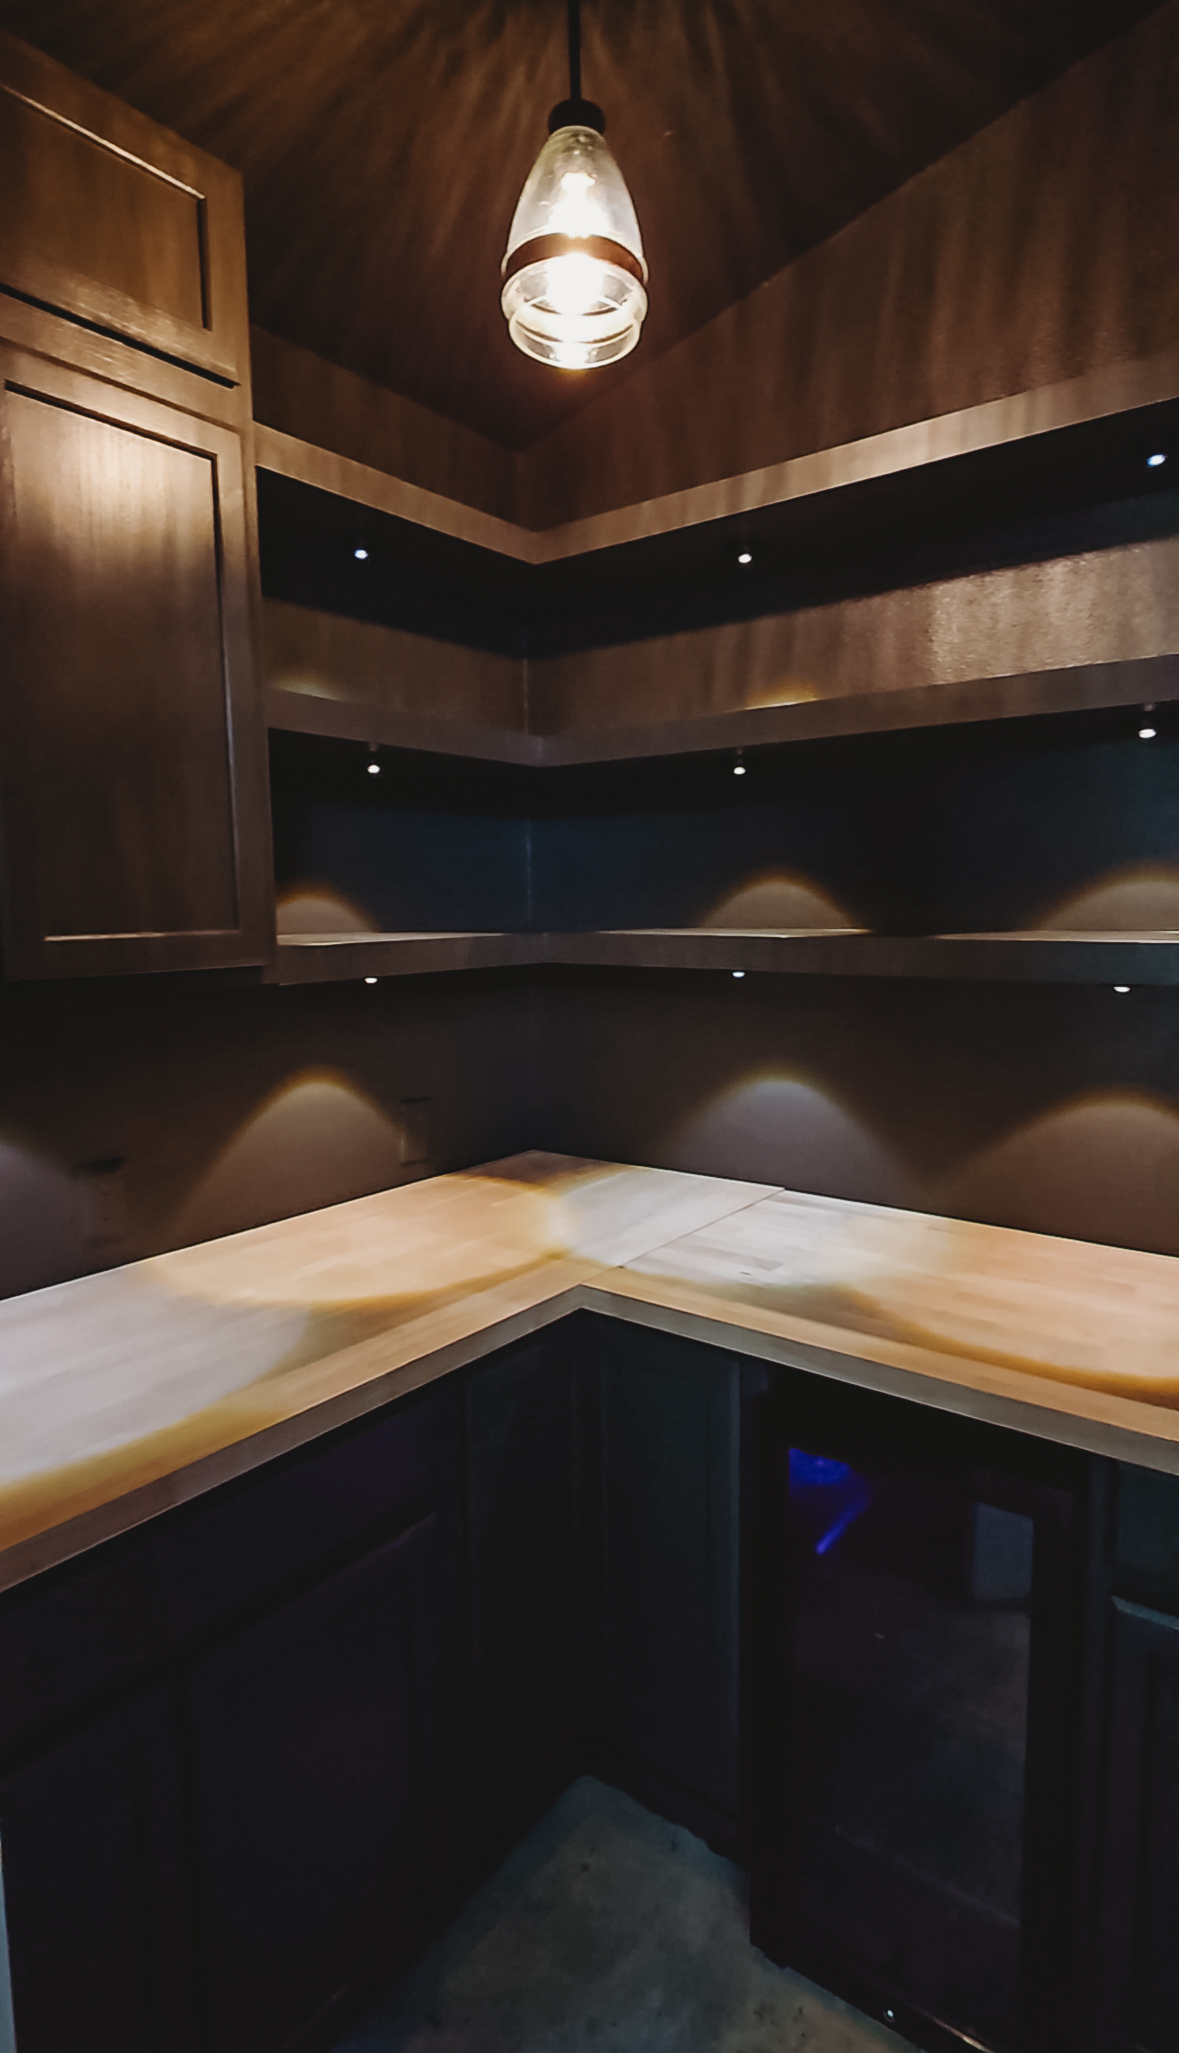
Step 3: Upper Cabinets & Shelves
The upper cabinets went in first, and I cannot tell you how excited I was watching them take shape. We mixed closed cabinets with some open shelving because I still wanted that balance, some things I love to display (hello, pretty dishes and cute baskets), while other items could hide away behind closed doors.
Step 4: The Lower Cabinets & Beverage Fridge
This is where things got really exciting. The lower cabinets created so much storage for all those bulk items, extra paper towels, and things that just aren’t pretty enough to be out in the open. And that beverage fridge? Best decision ever. Cold drinks right in the pantry means the kids aren’t constantly opening and closing the main kitchen fridge!
Step 5: Countertop Installation
We added a gorgeous butcher block countertop that spans the lower cabinets, giving us actual workspace in the pantry. I love having a spot to set things down while I’m putting away groceries or prepping snacks for the kids.
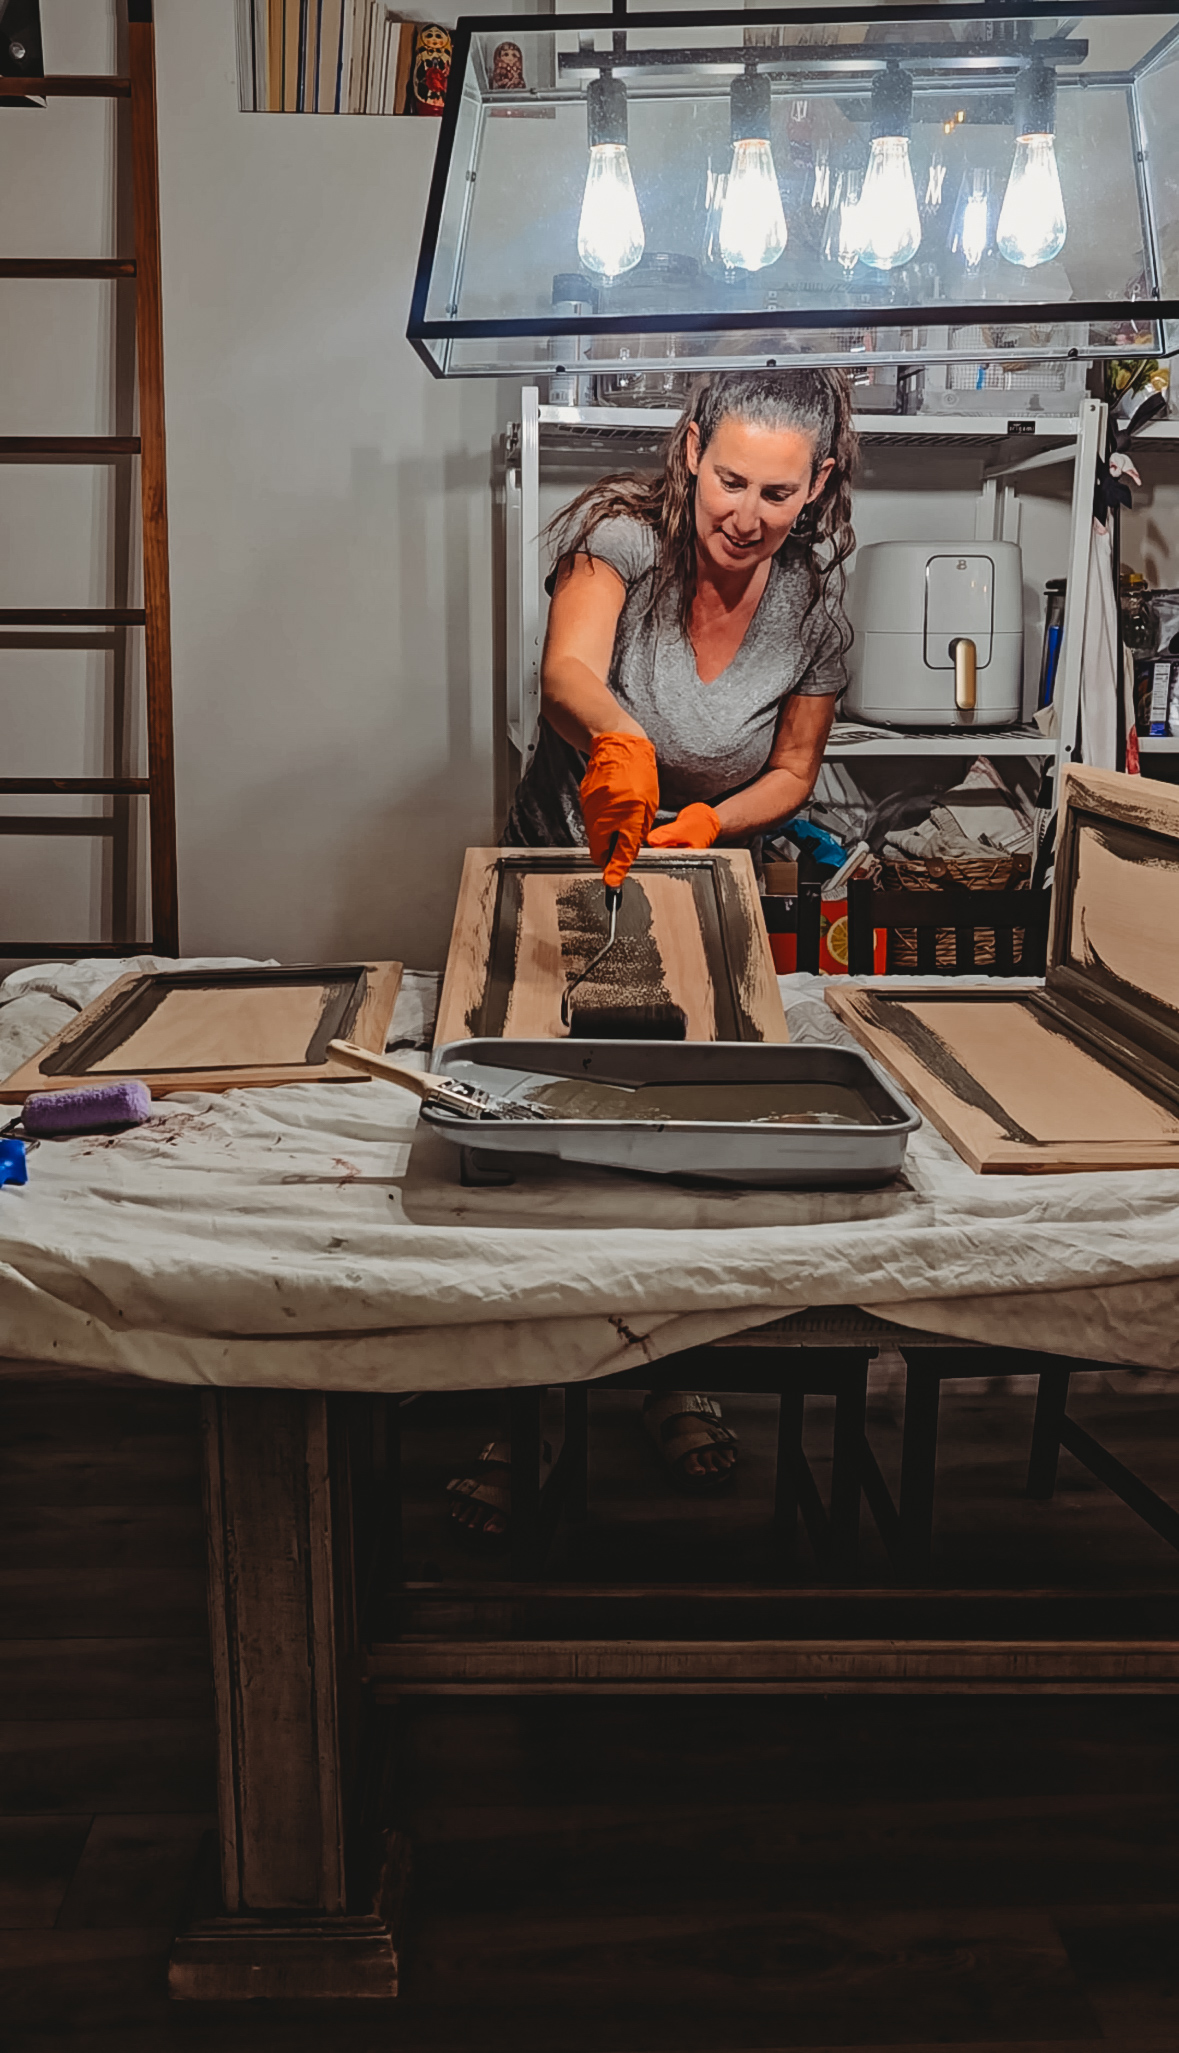
Step 6: Painting the Cabinets
Once everything was installed we took off the cabinet doors and painted them and the shelves in the same color as the wall, so that it all felt cohesive and built in.
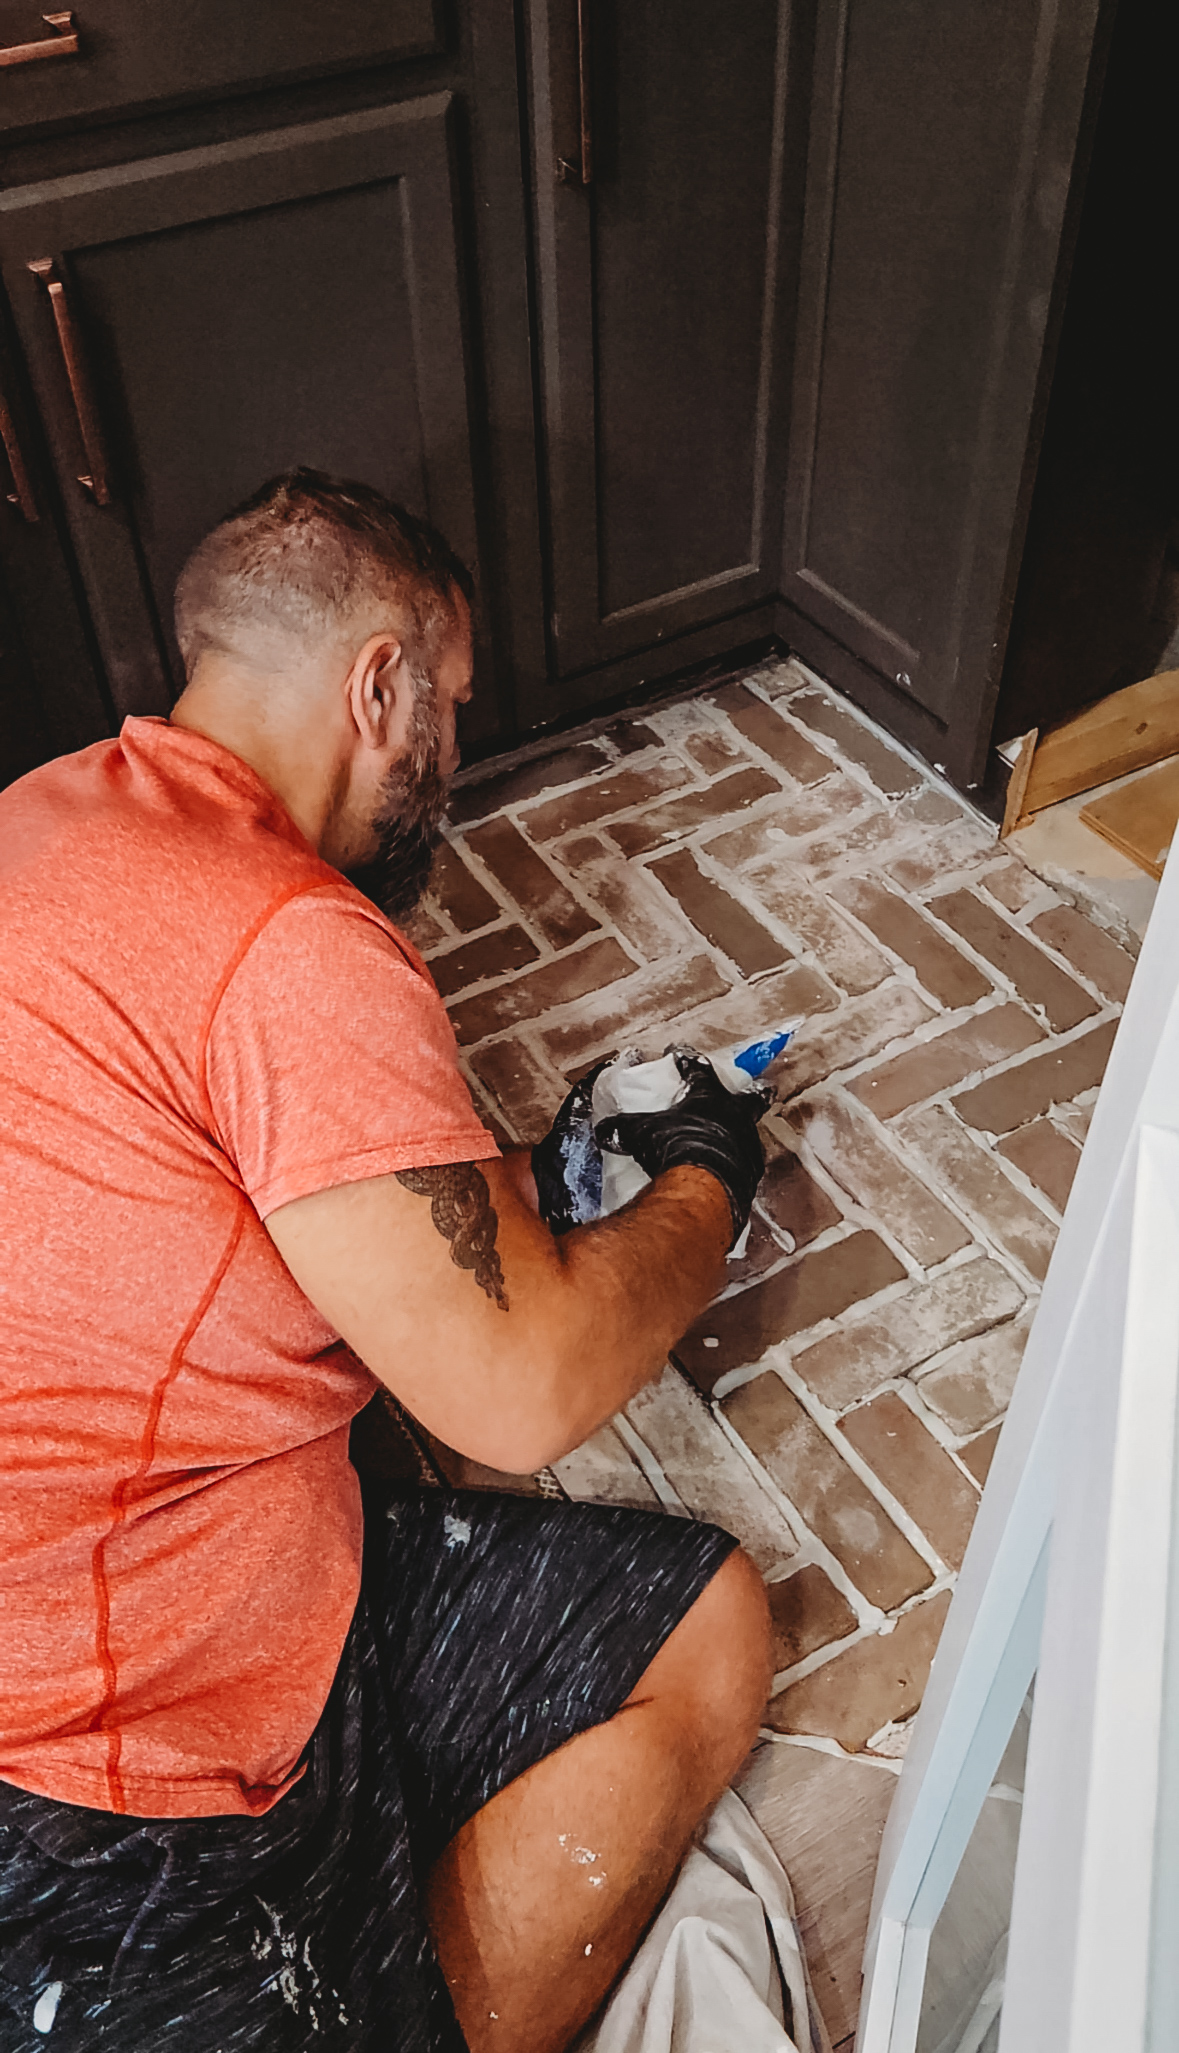
Step 7: Those Gorgeous Paver Floors
The pièce de résistance! We installed paver tile floors, and they are absolutely stunning. The pattern adds so much character and warmth to the space. It’s such a huge upgrade from the basic flooring we had before, and every time I walk in there, I do a little happy dance.
Our Material List:
- Pantry Light 7.5-in x 6-in Cone Clear Textured glass Pendant light shade with 2-1/4-in Fitter
- Mix and Match 1 -Light Matte black Transitional Cylinder Mini Hanging Pendant Light
- Natural Unfinished Oak Wall Fully Assembled Cabinet Flat Panel Square Oak Brook 36-in W x 30-in H x 12-in D
- Shelves – CorryCabinet 3/4-in x 4-ft x 8-ft Maple Sanded Plywood
- Shelves – Natural grain 6-ft x 25-in x 1.5-in Finger-Jointed Hevea Wood Butcher block Countertop
- 6-1/2-in 40 -Tooth Fine Finish Tungsten carbide-tipped steel Circular saw blade Individual
- To cut butcher block – Natural grain 4-ft x 25-in x 1.5-in Finger-Jointed Hevea Wood Butcher block Countertop
- Floor – Herringbone 13-in x 28-in Telluride Brick Veneer Brick veneer 8.7 Square feet
- 3006 Advanced Formula 10-oz Paint and Trim White Paintable Latex Caulk
- Side bottom Cabinets – Oak Brook 12-in W x 35-in H x 23.75-in D Natural Unfinished Oak Base Fully Assembled Cabinet Flat Panel Square
- Center bottom Cabinet – Oak Brook 36-in W x 35-in H x 23.75-in D Natural Unfinished Oak Lazy Susan Corner Base Fully Assembled Cabinet Flat Panel Square
- Bottom Cabinet – Oak Brook 30-in W x 35-in H x 23.75-in D Natural Unfinished Oak Base Fully Assembled Cabinet Flat Panel Square
- Color-Changing 5.5 Ounce(s) Natural Wood Filler
- Wall Cabinet Bottom – Oak Brook 30-in W x 30-in H x 12-in D Natural Unfinished Oak Wall Fully Assembled Cabinet Flat Panel Square
- Wall Cabinet Top – Oak Brook 30-in W x 12-in H x 12-in D Natural Unfinished Oak Wall Fully Assembled Cabinet Flat Panel Square
- PRO Grade Precision Medium 120-Grit Sanding Sponge 1-in x 2.5-in
Shop OUr materials here:

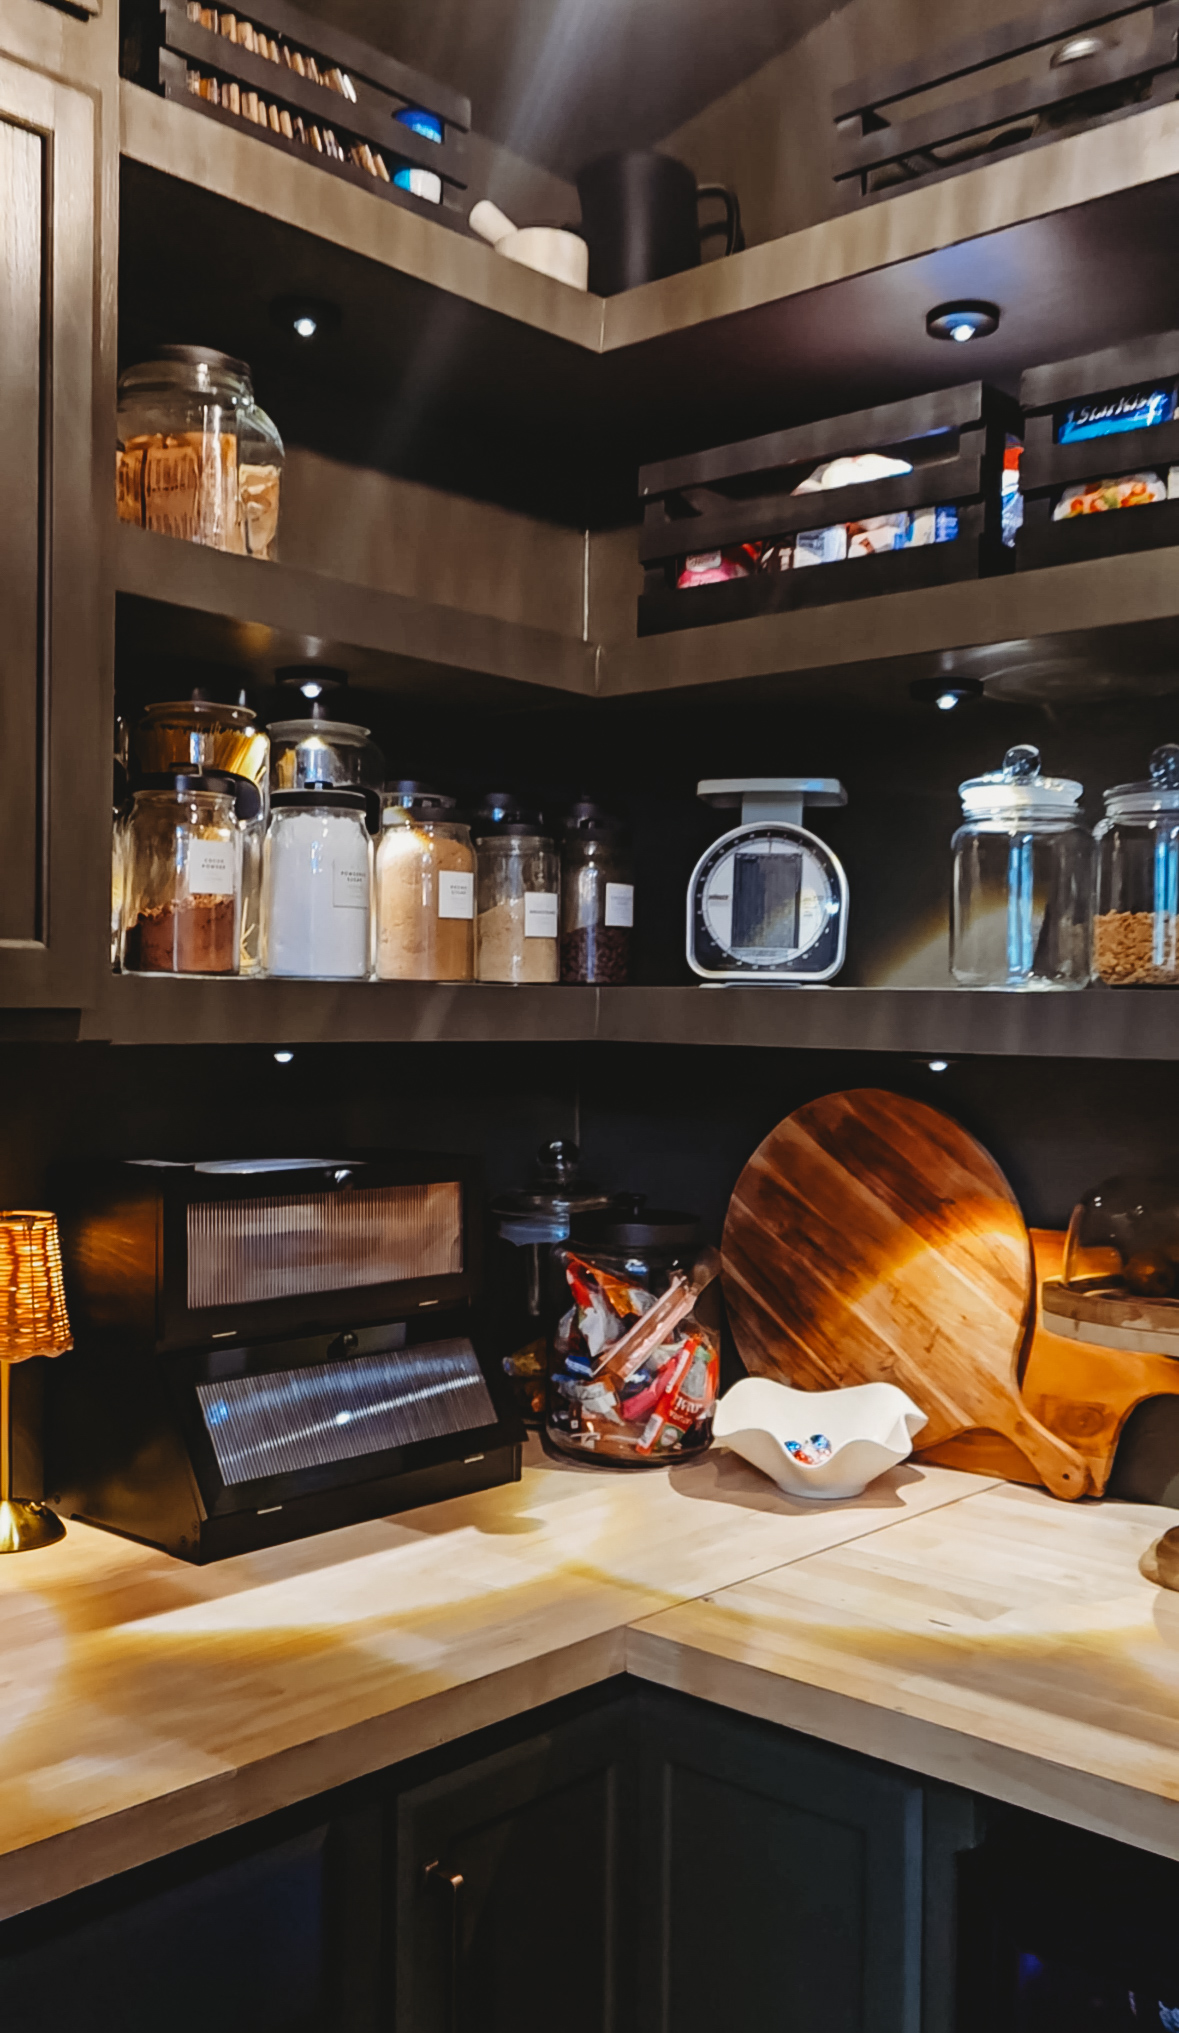
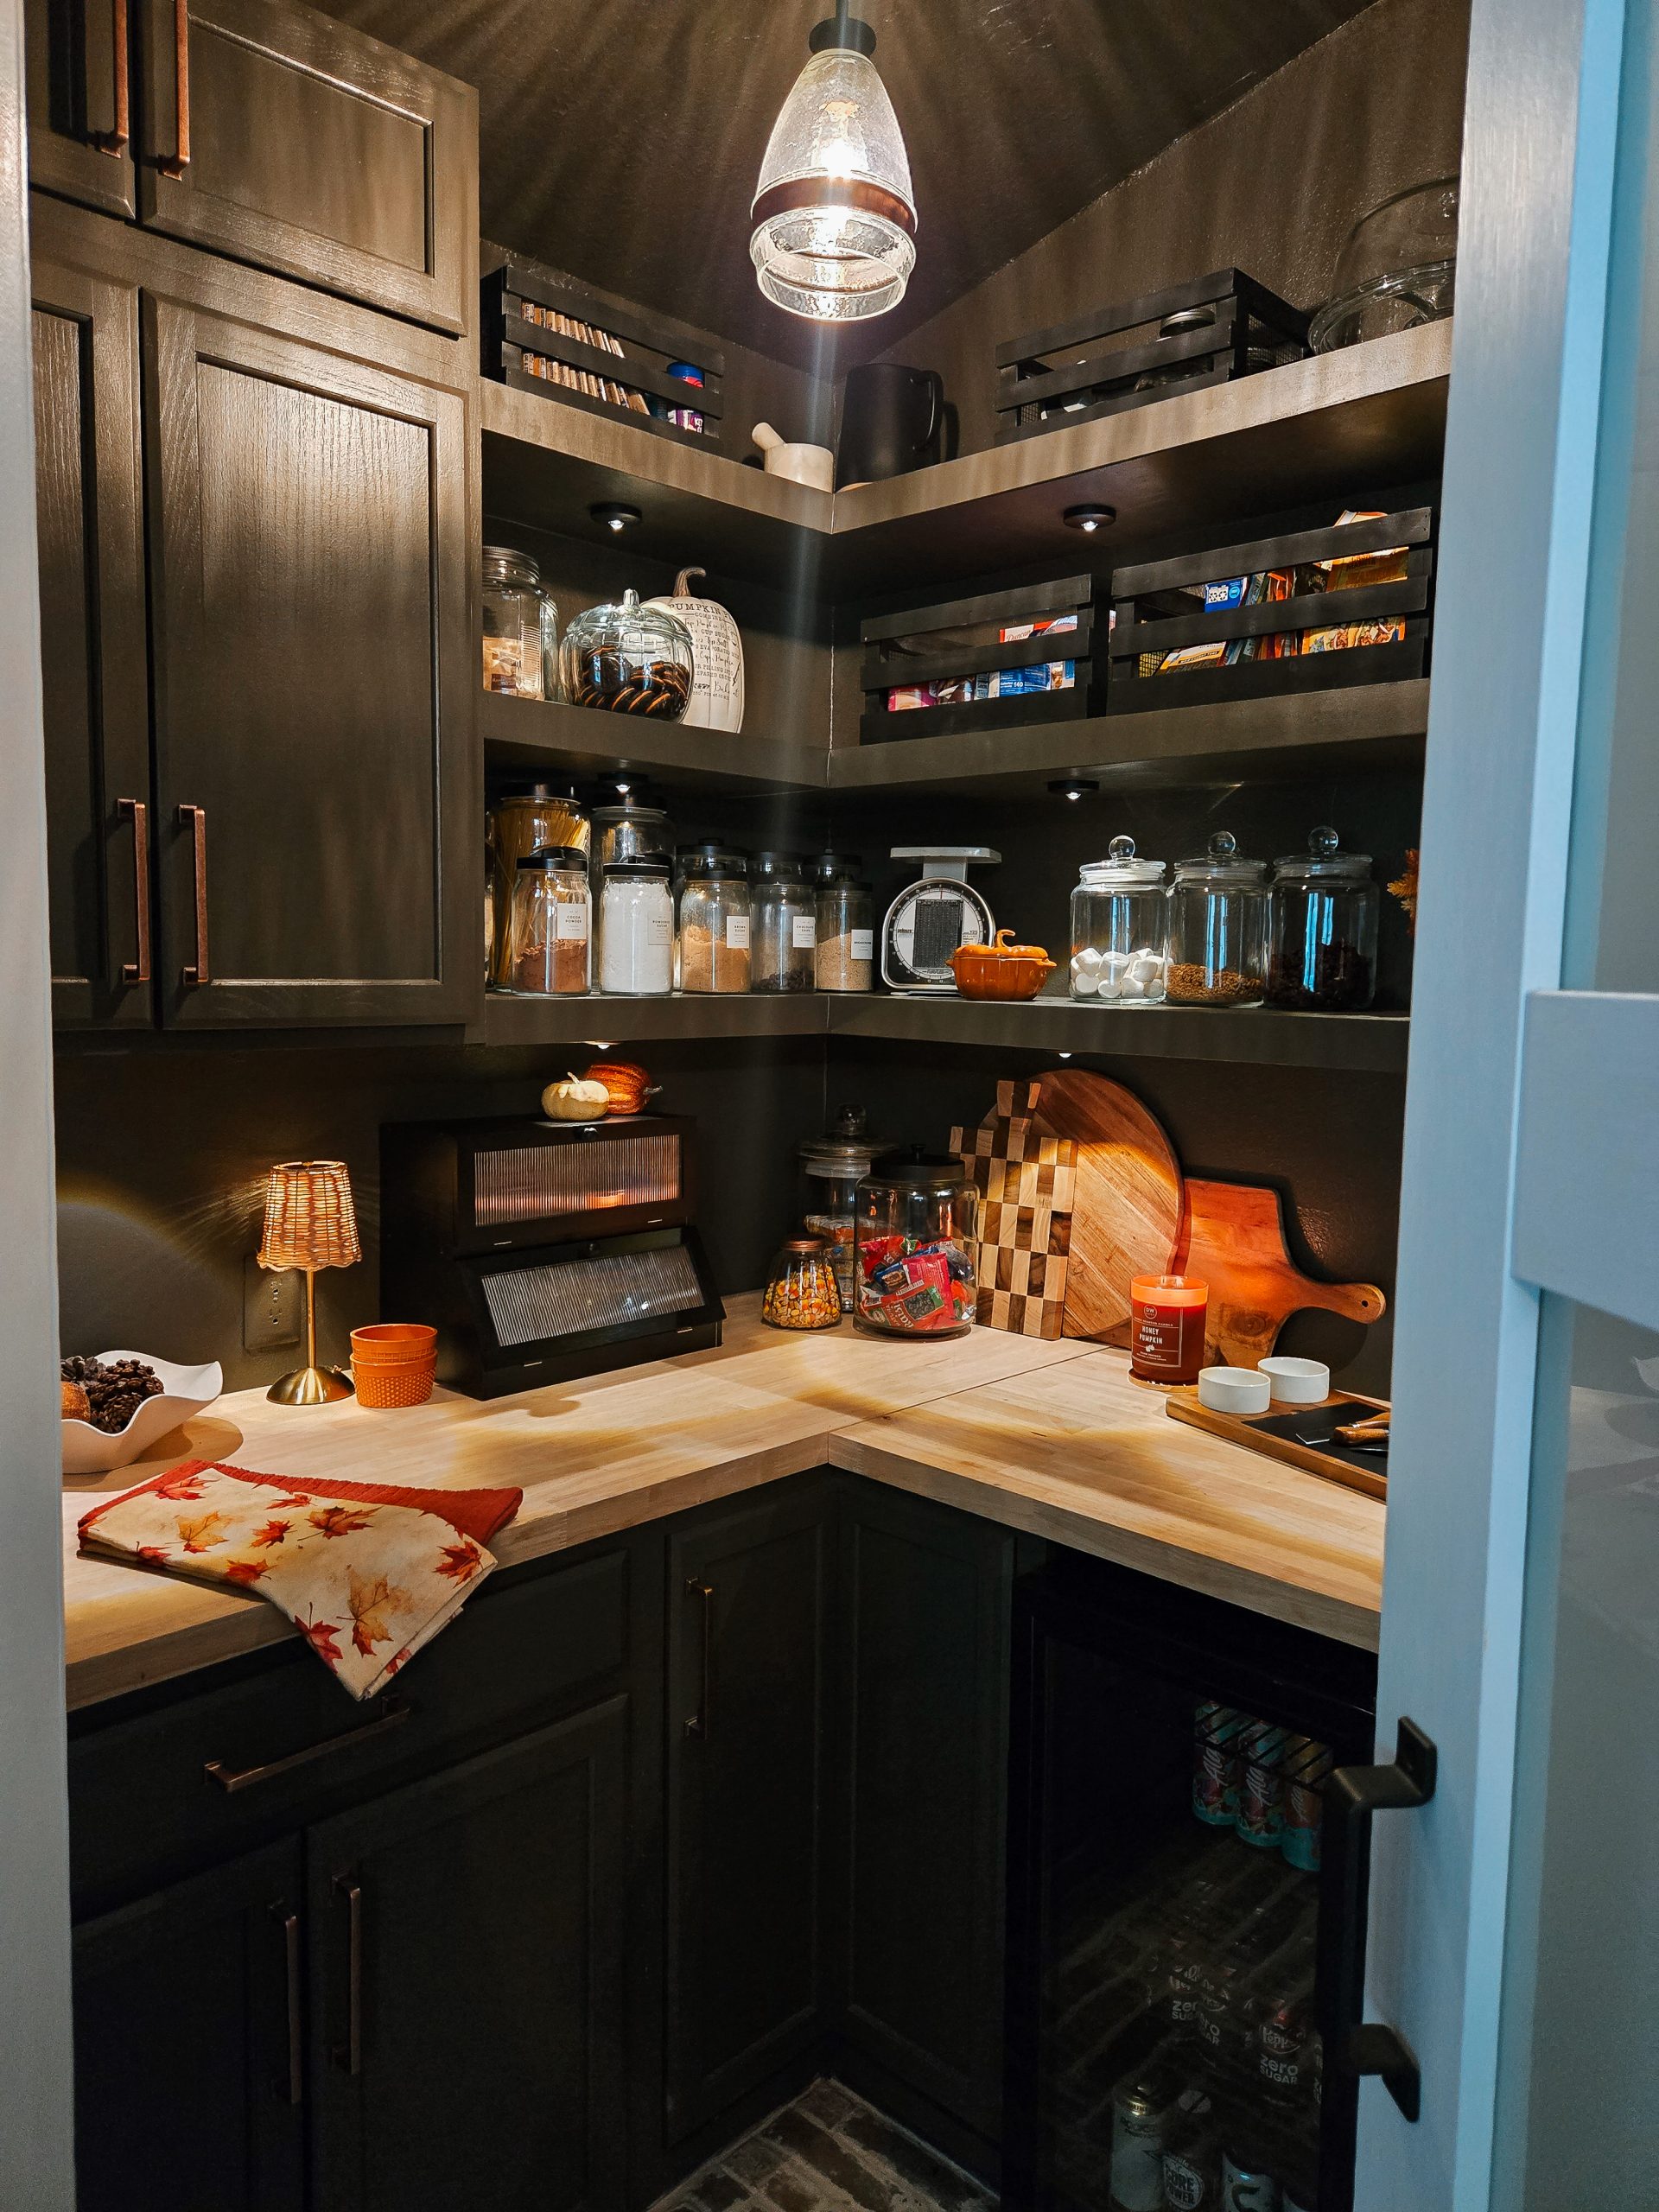
The Final Result: A Pantry That Actually Works for Us
Looking at the finished space now, I can honestly say this renovation was worth every bit of demo dust and decision fatigue. The combination of closed cabinets and open shelving gives me the best of both worlds, functionality with style.
The beverage fridge keeps drinks and snacks accessible for the whole family, and those lower cabinets? They’re like a secret storage superhero, hiding all the less-than-photogenic necessities that every family pantry needs. I love the space so much, it feels elevated but still totally functional for our busy family life.
Shop Our Pantry Accessories Here:
What I Learned From Renovating the Same Space Twice
Here’s what renovating the same room twice taught me:
It’s okay to change your mind. What worked for you five years ago doesn’t have to work for you forever. Your home should evolve with your family and your lifestyle.
Function first, but don’t sacrifice style. I used to think I had to choose between pretty and practical. Turns out, you can have both – you just have to be intentional about it.
Sometimes you have to go backward to go forward. Gutting a space you already renovated once feels wasteful at first. But creating a space that truly serves you? That’s not wasteful at all.
Trust your gut. I second-guessed myself a million times during this project. “Is this too much? Do we really need this?” But every time I walked into that finished pantry, I knew we made the right call.
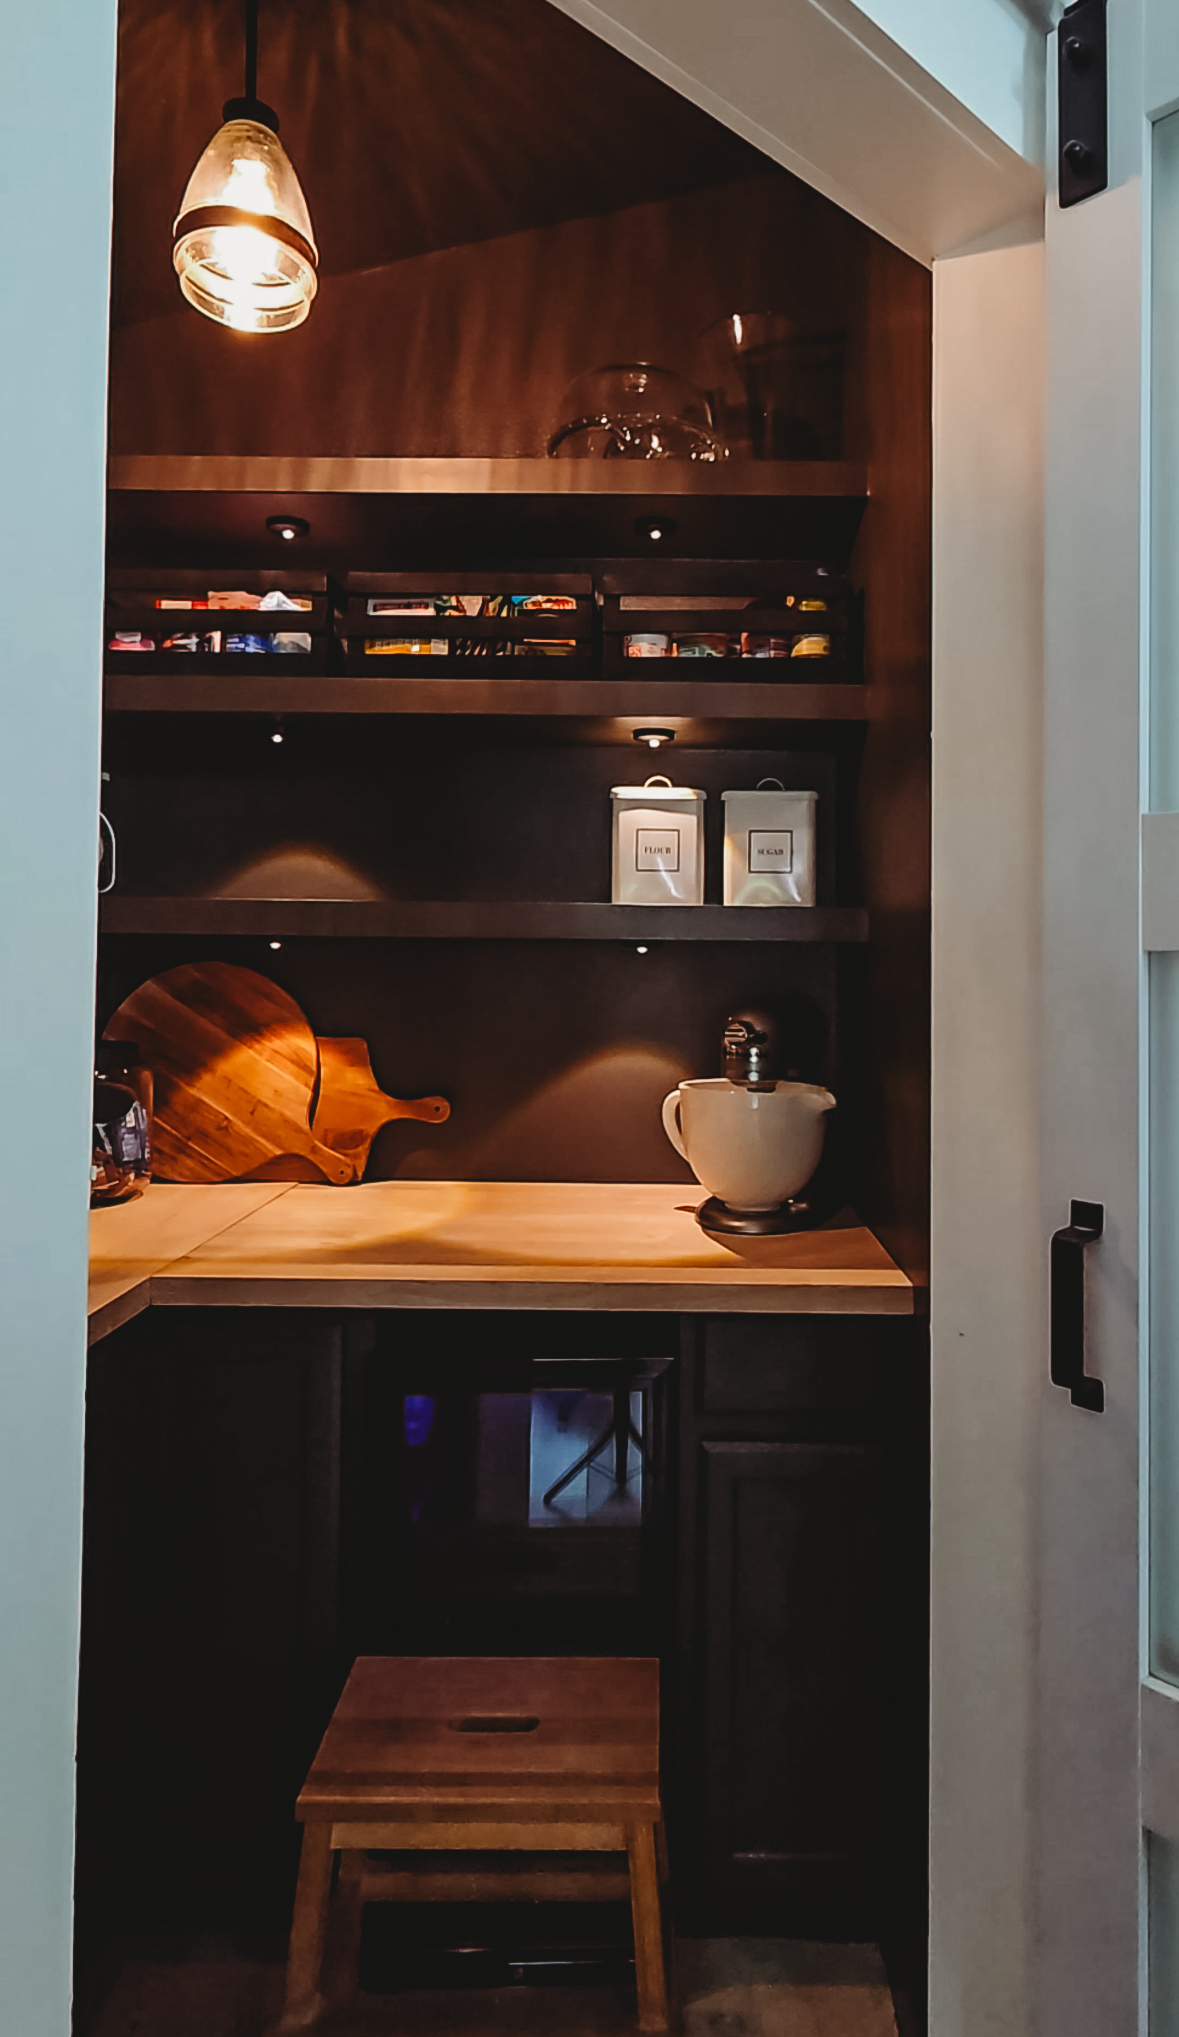
Living With Our New Pantry
We’ve been living with the new space for a bit now, and I have to say, it’s everything I hoped it would be. The kids know exactly where to grab snacks (hello, beverage fridge), I have plenty of space to store all our pantry staples without everything being on display, and the whole space just feels more cohesive with the rest of our home.
The closed cabinets mean I’m not constantly making sure every jar is turned just right and every label is facing forward. Don’t get me wrong, I still keep things organized, but it’s a different kind of organized. It’s more relaxed, more livable, more… us.
Final Thoughts
Would I recommend renovating the same space twice? Well, that depends on your situation! If you’re dealing with behind-the-scenes issues that need addressing anyway, or if your needs have genuinely changed and you have the resources to make it happen, then absolutely. But if your current setup is working for you? Don’t feel pressured to change it just because someone else’s pantry looks different on Instagram.
Home renovations are so personal. They should serve your family’s unique needs, not what looks good in a magazine or on Pinterest. Our first pantry renovation was perfect for where we were then. This second renovation is perfect for where we are now. And who knows? Maybe in another seven years, we’ll be ready for round three! (Kidding… I think.)
But for now, I’m just going to enjoy our beautiful, functional pantry. And maybe grab a cold drink from that fridge while I’m at it.
What do you think? Are you team open shelving or team closed cabinets in the pantry? I’d love to hear your thoughts!
Looking for more home renovation inspiration? Check out our original pantry transformation and see how far we’ve come!
Home


DIY Outdoor Planter Box for Hanging String Lighting
DIY Planter for Hanging String Lighting for under $40! How to build a planter for patio lights, or don't use the pole for lights and just use the planter!


Leave a Reply